Spiced Carrot Cake
I'm back to baking treats for people today! But this one is healthy, because it's chock full o' veggies! Okay, so healthy might be a stretch, but there are lots of veggies in this one. Don't let that scare you, though, because this Spiced Carrot Cake is moist, sweet, dense, and just a little bit spicy. Cinnamon, cloves, and nutmeg give a little bit of a kick and the tangy cream cheese frosting smoothes it all back down. And you can decorate it with cute little frosting carrots!
Carrot cake is one of those desserts that I feel often gets the short end of the stick. People think "Carrots?! Carrots aren't dessert! Give me something chocolate!" But I'm here to tell you that this carrot cake is awesome. Even bad carrot cake has cream cheese frosting, which we all know makes everything better. But this carrot cake is phenomenal. And of course, there's the fresh, carrot-y goodness because it's not from a box!
In addition to Fathers' Day this weekend, we also celebrated my father in law's birthday, and when he asked for a carrot cake, I was on it! So I set out to find the best carrot cake recipe I could to share with you, my lovely readers, and my family. I found this fantastic recipe from CleoButtera, and with a few (very minor) adjustments, developed the delight I bring you today!

As usual, gather the ingredients. If you've been here before, you'll notice that things look a little different. Special thanks to my awesome mom for letting me use her kitchen and especially for taking pictures!
 Also, you'll see in the picture that I only show three carrots. You'll need more than three carrots. Unless they're giant carrots like Bugs Bunny dreams about. Since carrots vary so much in size (from "petite baby carrots" to the big ol' standard ones with green tops), it's most efficient to measure the carrots by weight. Also, if you're using the big ones, don't weigh them first and then shred, because you'll lose quite a bit in trimming off the stem end and peeling. And when you've peeled and grated and chopped the carrots, you'll look at the pile of carrots and think, "Gee whiz, Holly! That's a ridiculous amount of carrots!" but really, it's okay. It'll all be worth it.
 After the carrots are all ground up and ready, set them aside and mix together the flour, baking powder and soda, salt, cinnamon, nutmeg, and cloves in a separate bowl and whisk them together. Set that aside too. There will probably be some carrot bits on the counter and maybe on the floor. Carrot bits on the floor don't last too long at my house, because that's another thing that Pippin likes to eat.
  And with those things set aside, we finally get to actually play with the mixer! Yay! Put the eggs (Remove them from the shells first; avoid unwanted crunch) and the brown and white sugar in the bowl of your mixer and start beating it together. When it's pretty smooth, slow the mixer down to medium-ish, and start pouring the oil in with a slow, steady stream. If it gets splashy, slow the mixer down. You should be pouring slowly enough that the oil doesn't really pool, but mixes in almost immediately. It also helps to pour it close to the side of the bowl.
After all the oil is in, turn the speed back up on the mixer to make sure everything gets emulsified. If you don't emulsify it, it will separate and get yucky. Also, the word emulsify is so much fun to say! Anyway, turn the mixer back up and spin that batter until it's nice and consistent. This might take a couple minutes.
 Once your batter is a beautiful golden emulsion, scrape off the beaters and admire your work. Because this cake is supposed to be dense, the flour will be mixed in by hand. Using the mixer will incorporate too much air and the cake won't support itself as well. So grab a spatula and the flour mixture that we set aside earlier, and mix it in until all the flour is mixed in and there are no more streaks, but not more than that. Then stir in the carrots (yes, all those wonderful carrots) and marvel at how astoundingly orange they are.
  When it's mixed, divide the batter evenly among three 9-inch pans. You can also easily use 8-inch pans if that's what you have. Before your pour in the batter, though, make sure your pans are ready for this awesomeness. Grease the pans with oil or nonstick spray and line them with parchment paper rounds, and then spray the parchment again. This will keep your cakes from sticking to the pans and is an important step. Cake that sticks to the pan brings sadness and pain. That's the opposite of what cake should do. Don't let it happen on your watch.
  Next comes the baking part! The cake layers get baked for 20-25 minutes. I had to put two pans on the top rack and one on the bottom rack and then switch their positions after 12 minutes. If your oven is huge, bake them all three in the middle of the oven, but for the rest of us, dividing them and rotating them like this works great. If you have too much time on your hands, feel free to bake them one at a time. And then find something more productive to do with your time.
When the cakes pass the toothpick test, take them out of the oven and let them cool. I actually let them cool overnight and frosted them the next morning. Carrot cake tends to taste best the next day, so I really recommend this, but if you just don't have time to make the cake a day ahead of time, it will still be delicious. But you absolutely must let the cake cool completely before you try to frost it.
 When you're sure the layers are cool and you're ready to frost them, make some cream cheese frosting. I've made cream cheese frosting a couple of times here now, so you're probably well-acquanted with the method, but as a refresher and for any new friends, here's the quick run down:
Start with butter and cream cheese. Mix it in the mixer with the whisk attachment until it's smooth and fluffy. Add vanilla and then slowly add powdered sugar until you get to the desired level of sweetness. Keep mixing until the frosting is light and fluffy. Since I'm writing this in June and it's hot outside, you may notice that the frosting is a bit on the soft side. If it's too soft to work with, stick it in the fridge for a little while.
 To assemble the cake, place one layer on your cake plate or platter and apply a thick layer of frosting to the top of the layer. An offset spatula works best for this. Set the next layer on this frosting and align the edges. Repeat. If your oven isn't level or if the cakes domed up a lot, level them before you start. You may only need to level one layer, you may need to level them all. You may not need to level any of them. But if you think they need it, you're probably right. It will be harder to keep your cake upright if the layers aren't level. After all three layers are stacked and stuck together, pile more frosting on the very top center and begin spreading to the edges and down the sides.
 For a smoother look on the frosting, wet your spatula before spreading and smoothing. Again, an offset spatula works best for this sort of work. At this point, your cake is technically ready to go. Be wary of warm weather, though, and keep the cake in the fridge if you think it might get too warm, as it will melt. My cake actually did get a bit too warm as we drove it to the party for my father in law, and some of the frosting melted off the side. If this happens, chill the cake again and just fix it before serving.
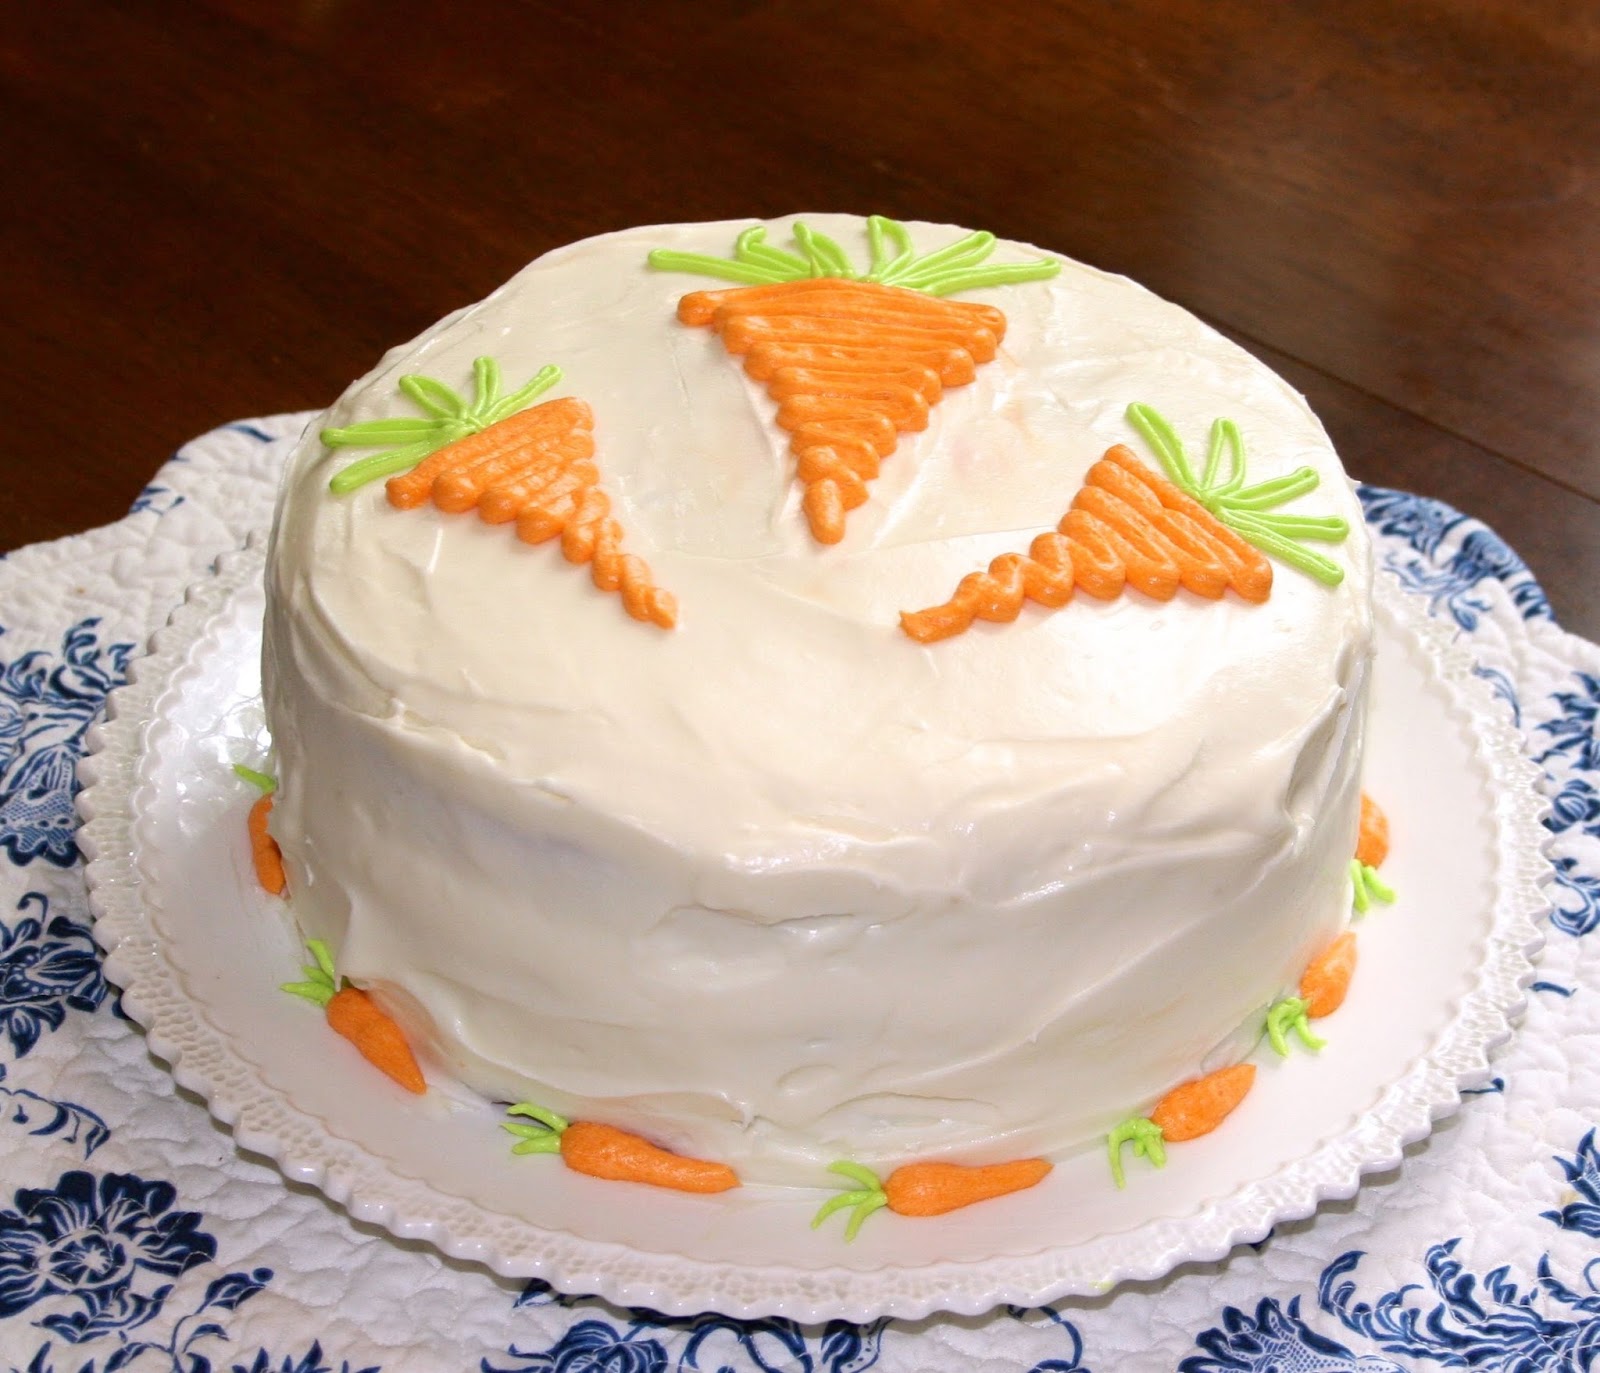
  Some of you, though, may be saying, "But, Holly! Cute frosting carrots! Where are the cute frosting carrots?!" Worry not! I won't leave you hanging. I won't go into detail about the specific technique for the carrots, but take any leftover frosting (or mix up a small batch of buttercream frosting) and color it. I recommend using gel coloring for frosting, and for this cake, I used the Betty Crocker neon gel colors. Divide the frosting into two parts, one larger than the other. Add the gel coloring, a few drops at a time, to each color, mixing well after each addition. It's much harder to lighten frosting that has too much coloring in it than it is to just mix in more coloring until the right color is achieved. Once you're happy with your colors, spoon them into piping bags and decorate to your heart's content!
Cut yourself a big ol' slice and enjoy. And silence your guilt at a decadent dessert by explaining to yourself that there are a lot of carrots in here, and carrots are good for you. It's practically a salad!
Spiced Carrot Cake
2 1/2 cups all-purpose flour
1 1/4 teaspoons baking powder
1 teaspoon baking soda
1/2 teaspoon table salt
1 1/4 teaspoons ground cinnamon
1/4 teaspoon ground nutmeg
1/4 teaspoon ground cloves
1 pound peeled, shredded carrots
1 1/2 cups sugar
1/2 cup brown sugar
4 large eggs
1 1/2 cups vegetable oil
Preheat oven to 350 degrees.
In a large bowl, whisk together flour, baking powder, baking soda, salt, cinnamon, nutmeg, and cloves and set aside. In food processor or using the small holes of a box grater, shred carrots. (If you don’t have a kitchen scale, 1 pound of shredded carrots is roughly 3 cups.) Set aside.
In the bowl of a stand mixer, mix the eggs, sugar and brown sugar together on medium-high speed until thoroughly combined. Reduce speed to medium and with mixer running, slowly add oil in a steady stream, against inside of bowl. After all oil is added, increase speed to high and mix until mixture is light in color and thoroughly emulsified. With a rubber spatula or wooden spoon, stir in the flour mixture by hand until just incorporated and no streaks of flour remain, and then stir in the carrots. Pour into 3 prepared 9 inch round pans, sprayed with nonstick cooking spray and lined with parchment rounds. Bake for 20-25 minutes or until a toothpick inserted into the center of the cake comes out clean, rotating pans after 12 minutes.
After allowing cakes to cool in the pans for 10 minutes, run a knife around the edges of the cakes, and flip them out onto a wire rack. Peel off the parchment paper, and let cool completely before frosting.
To frost and assemble, place one of the cake layers onto the cake platter. Spread frosting over the top of the cake, nearly to the edges. Position the second layer on top and after making sure it is properly aligned, press lightly to stick. Spread frosting over the second cake layer. Top with the final cake layer, pressing lightly. Frost the top and side of the cake with the remaining frosting. Decorate as desired.
Cream Cheese Frosting
10 tablespoons unsalted butter
3 1/2 cups powdered sugar
1/2 Tablespoon vanilla extract
1 pound cream cheese
In the bowl of a stand mixer fitted with the whip attachment, beat the butter and cream cheese on medium-high speed until creamy, fluffy, and fully incorporated. Add all of vanilla and beat until completely mixed. Add powdered sugar 1/2 cup at a time, and beat at high speed until fluffy.


Comments
Post a Comment